Installing components
In this guide, you'll learn how to install published uipkg components to your project.
Configuring uipkg registry
uipkg uses a custom npm registry to host your components, your packages are always private, which means only you and your organization members can access them.
Let's configure npm to search in uipkg registry when installing components.
You can open the package that you published and it will have a short section on connecting to the uipkg registry with details prefilled from your account. Follow that and skip to the next section on this page, alternatively, you can follow the steps below.
Open up your terminal and type in this command:
npm login --registry=https://registry.uipkg.com --scope=@<your-handle>
You can find your handle under your account settings. Organization handle can be found under organization settings.
This will then ask for your credentials:
- Username - your uipkg handle, without the "@" symbol
- Password - private access token, you can generate one here
- Email - email you use to sign in to uipkg
Username: martynas
Password: pat_thisisjustanexample
Email: (this IS public) [email protected]
After filling in your credentials it will sign you into the registry and create a few entries in your .npmrc file (which is usually in ~/.npmrc). Mine looks like this:
//registry.uipkg.com/:_authToken=pat_thisisjustanexample
@martynas:registry=https://registry.uipkg.com/
Installing uipkg component
Now that we are signed in to uipkg registry we can install components to our project. Let's test this in a fresh create-react-app project.
npx create-react-app uipkg-example
Open up the package page that we first published in the previous guide and find the section where it says "Install this package".
For me it's:
npm install @martynas/listing
Depending on what styling option you chose, you need to install/configure styles
- Emotion
- TailwindCSS
uipkg components do not ship with emotion included to avoid issues with multiple versions. For this reason, you have to install emotion yourself (if you don't have it installed already)
npm install @emotion/react @emotion/styled
Since this is a create-react-app project, we need to first install TailwindCSS to it. Luckily TailwindCSS has a great short guide on how to do it here.
Now let's point TailwindCSS compiler to look for uipkg components, this can be done by adding a line to your tailwind.config.js.
Add this line to your tailwind.config.js:
/** @type {import('tailwindcss').Config} */
module.exports = {
  content: [
    "./src/**/*.{js,jsx,ts,tsx}",
    "./node_modules/@martynas/**/*.js",
  ],
  theme: {
    extend: {},
  },
  plugins: [],
};
Make sure to use your handle instead of mine 😉
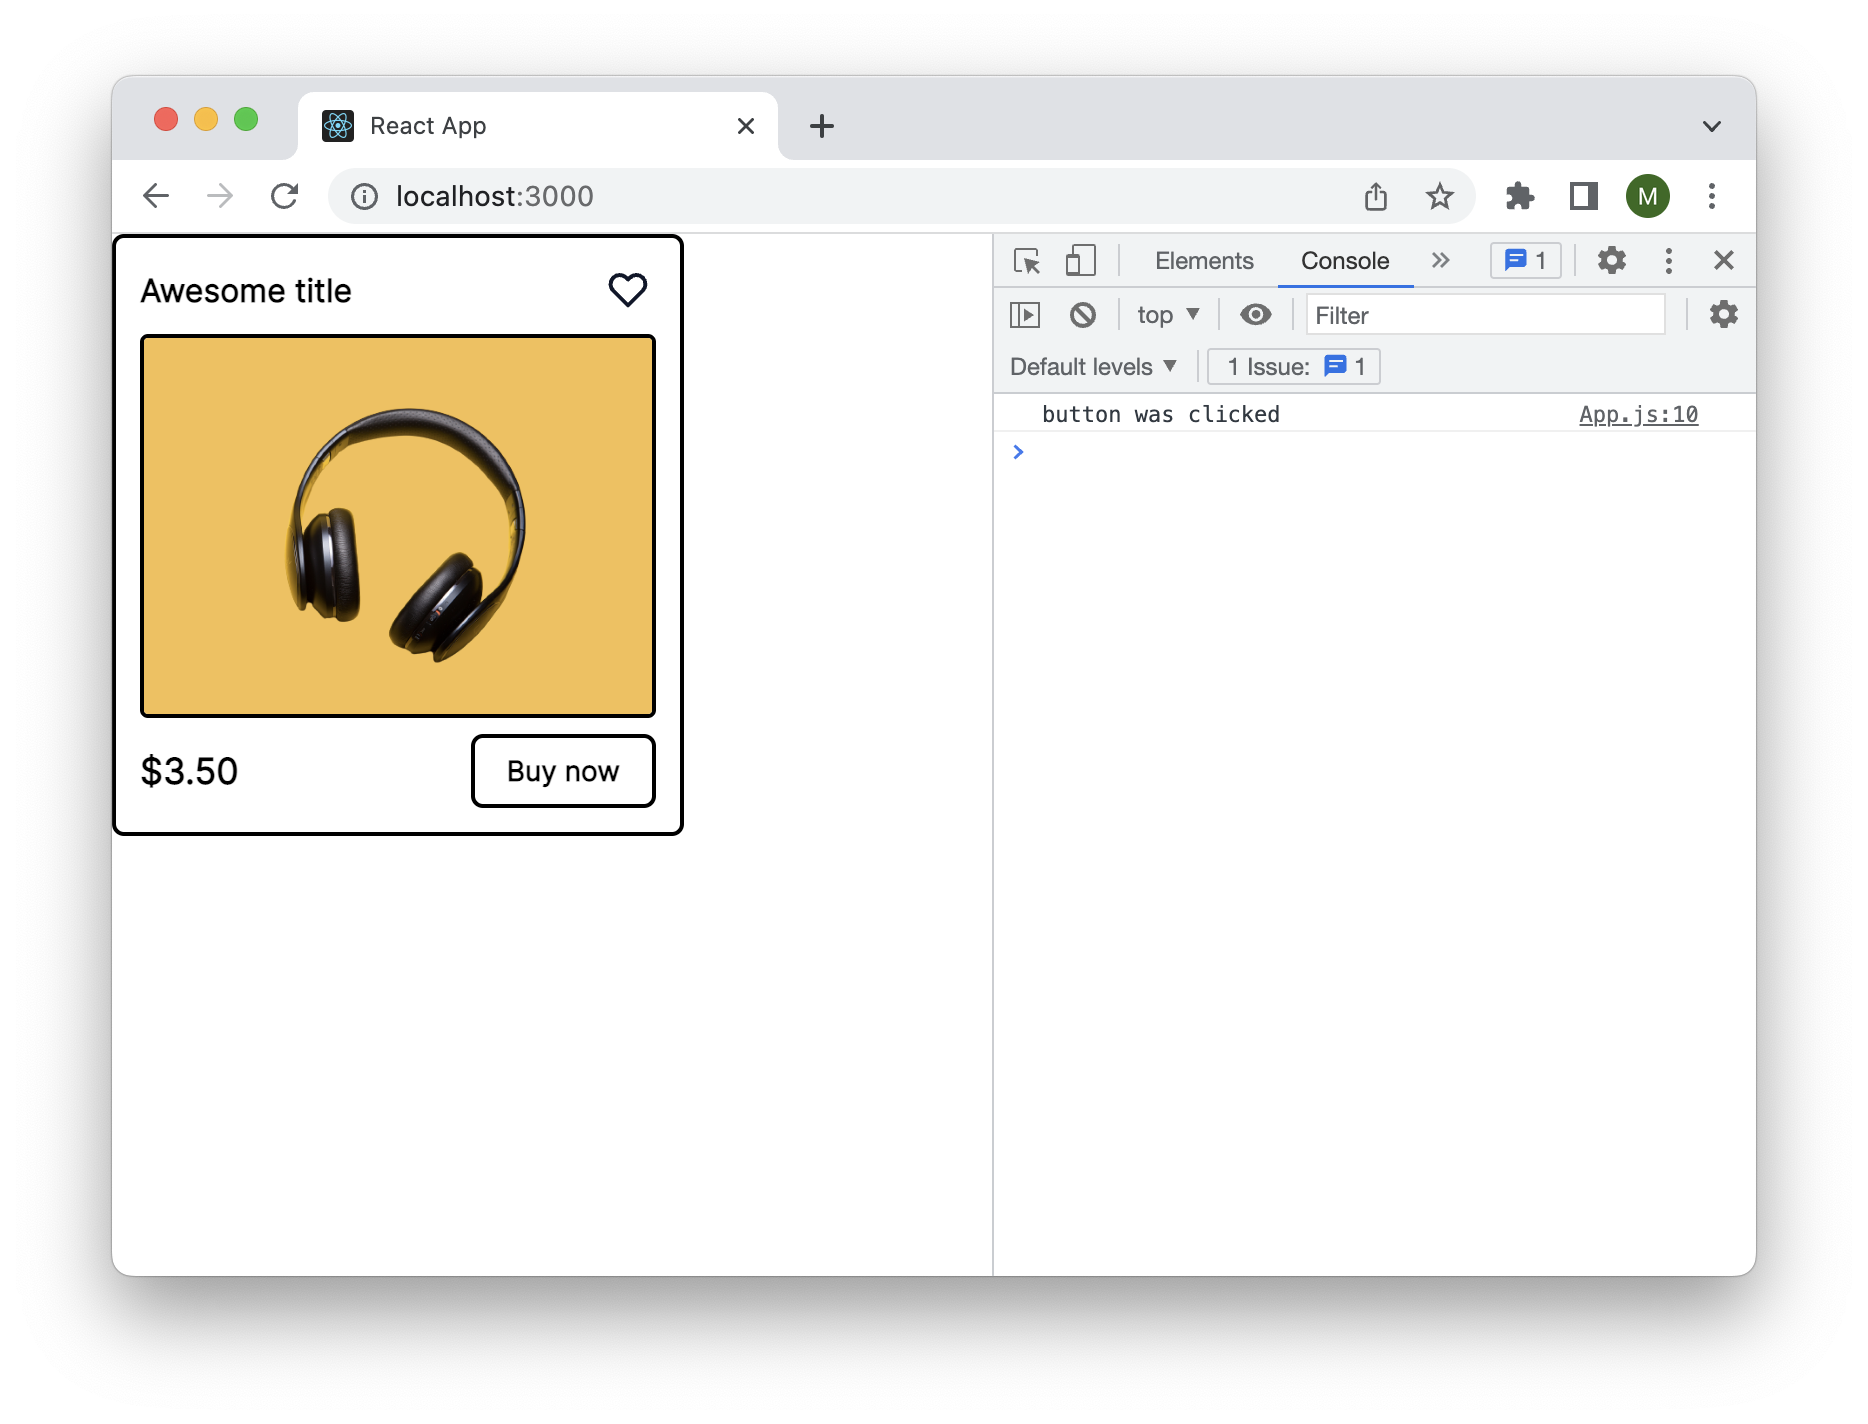
Now we can finally use it in our app. Open up App.js file and let's import our Listing component.
import Listing from "@martynas/listing";

const App = () => {
  return <Listing />;
};

export default App;
Let's start our development server with npm start and we can now see this component being rendered in a browser.
